

How to install an Automatic Test Pressure Air System?
Installing an Automatic Test Pressure Air System can be a complex yet rewarding process. As a supplier of Automatic Test Pressure Air Systems, I have witnessed firsthand the benefits that these systems bring to various industries. In this blog post, I will guide you through the steps of installing an Automatic Test Pressure Air System, providing you with valuable insights and tips along the way.
Step 1: Planning and Preparation
Before you start the installation process, it is crucial to conduct thorough planning and preparation. This includes assessing your specific requirements, understanding the system's specifications, and ensuring that you have all the necessary tools and equipment.
- Assess Your Requirements: Determine the purpose of the Automatic Test Pressure Air System and the specific applications it will be used for. Consider factors such as the required pressure range, flow rate, and accuracy.
- Understand the System's Specifications: Familiarize yourself with the technical specifications of the Automatic Test Pressure Air System. This includes the system's dimensions, weight, power requirements, and operating conditions.
- Gather the Necessary Tools and Equipment: Make a list of all the tools and equipment you will need for the installation process. This may include wrenches, screwdrivers, pipe cutters, and sealants.
Step 2: Site Preparation
Once you have completed the planning and preparation phase, it is time to prepare the installation site. This involves ensuring that the site is clean, dry, and free from any obstructions.
- Choose a Suitable Location: Select a location for the Automatic Test Pressure Air System that is easily accessible and provides adequate ventilation. The location should also be away from any sources of heat, moisture, or vibration.
- Prepare the Installation Surface: Ensure that the installation surface is flat, level, and capable of supporting the weight of the system. If necessary, use shims or leveling feet to adjust the system's position.
- Install the Mounting Brackets: If the Automatic Test Pressure Air System requires mounting brackets, install them according to the manufacturer's instructions. Make sure the brackets are securely attached to the installation surface.
Step 3: System Assembly
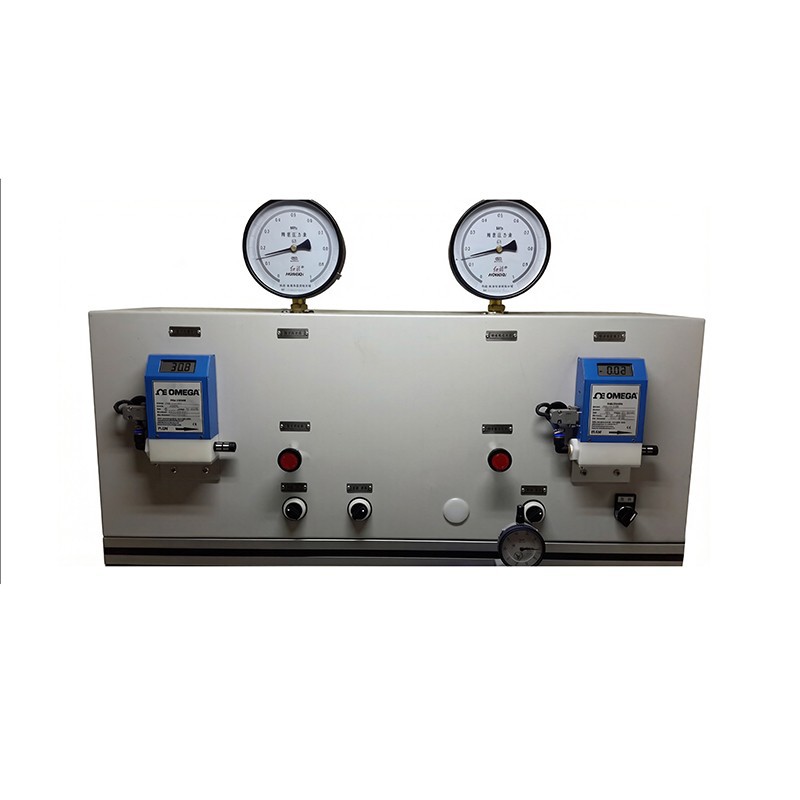
After the site preparation is complete, it is time to assemble the Automatic Test Pressure Air System. This involves connecting the various components of the system, such as the compressor, pressure regulator, and valves.
- Read the Installation Manual: Carefully read the installation manual provided by the manufacturer. The manual will provide detailed instructions on how to assemble the system and connect the components.
- Connect the Compressor: Connect the compressor to the power supply and the air intake. Make sure the connections are secure and leak-free.
- Install the Pressure Regulator: Install the pressure regulator according to the manufacturer's instructions. The pressure regulator is used to control the pressure of the air flowing through the system.
- Connect the Valves: Connect the valves to the system according to the manufacturer's instructions. The valves are used to control the flow of air through the system.
Step 4: Piping and Tubing Installation
Once the system assembly is complete, it is time to install the piping and tubing. This involves connecting the various components of the system using pipes and tubes.
- Choose the Right Piping and Tubing: Select the appropriate piping and tubing for your Automatic Test Pressure Air System. The piping and tubing should be made of a material that is compatible with the system's operating conditions and the type of air being used.
- Cut and Bend the Piping and Tubing: Use a pipe cutter and a tube bender to cut and bend the piping and tubing to the required length and shape. Make sure the cuts are clean and the bends are smooth.
- Connect the Piping and Tubing: Connect the piping and tubing to the various components of the system using fittings and connectors. Make sure the connections are secure and leak-free.
Step 5: Electrical Wiring
After the piping and tubing installation is complete, it is time to install the electrical wiring. This involves connecting the system to the power supply and the control panel.
- Read the Electrical Wiring Diagram: Carefully read the electrical wiring diagram provided by the manufacturer. The diagram will show you how to connect the system to the power supply and the control panel.
- Install the Electrical Components: Install the electrical components, such as the motor, the control panel, and the sensors, according to the manufacturer's instructions. Make sure the connections are secure and the wiring is properly grounded.
- Test the Electrical System: Once the electrical wiring is complete, test the electrical system to ensure that it is functioning properly. Use a multimeter to check the voltage and the current at various points in the system.
Step 6: System Testing and Calibration
After the installation is complete, it is time to test and calibrate the Automatic Test Pressure Air System. This involves checking the system's performance and adjusting the settings to ensure that it is operating at the desired level.
- Perform a Leak Test: Use a leak detector to check for any leaks in the system. Make sure all the connections are tight and there are no visible signs of leakage.
- Test the Pressure and Flow Rate: Use a pressure gauge and a flow meter to test the pressure and the flow rate of the air flowing through the system. Adjust the settings of the pressure regulator and the valves to achieve the desired pressure and flow rate.
- Calibrate the Sensors: If the system is equipped with sensors, calibrate them according to the manufacturer's instructions. This will ensure that the sensors are providing accurate readings.
Step 7: Maintenance and Troubleshooting
Once the Automatic Test Pressure Air System is installed and tested, it is important to perform regular maintenance and troubleshooting to ensure that it is operating at its best.
- Follow the Maintenance Schedule: Follow the maintenance schedule provided by the manufacturer. This may include tasks such as changing the filters, lubricating the moving parts, and checking the electrical connections.
- Troubleshoot Any Issues: If you encounter any issues with the system, refer to the troubleshooting guide provided by the manufacturer. This will help you identify and resolve the problem quickly.
- Contact the Supplier: If you are unable to resolve the issue on your own, contact the supplier of the Automatic Test Pressure Air System. They will be able to provide you with technical support and assistance.
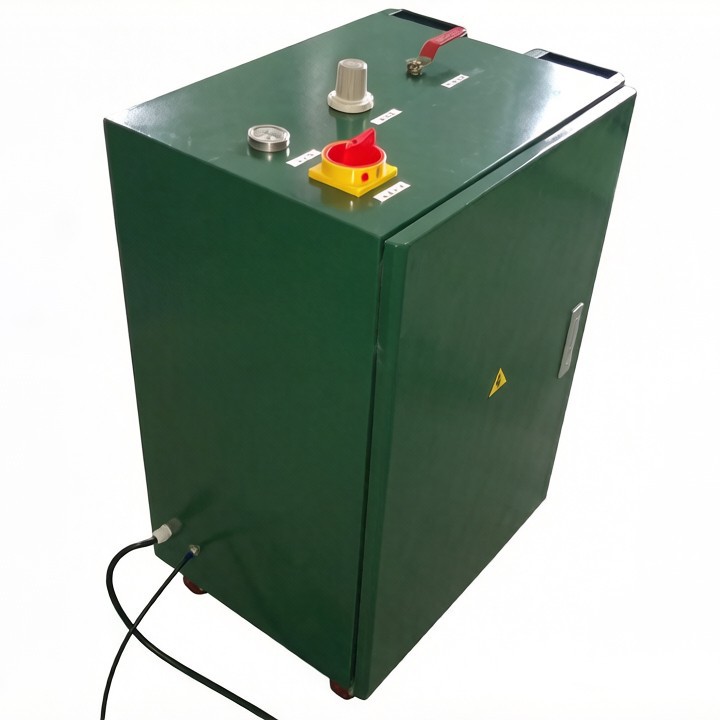
In conclusion, installing an Automatic Test Pressure Air System requires careful planning, preparation, and execution. By following the steps outlined in this blog post, you can ensure that your system is installed correctly and operating at its best. If you have any questions or need further assistance, please do not hesitate to contact us. We are a leading supplier of Automatic Test Pressure Air System and other related products, such as Testing Equipment Air Flow Testing System and Automatic Test Vacuum Air System. We are committed to providing our customers with high-quality products and excellent customer service. If you are interested in purchasing an Automatic Test Pressure Air System or have any other inquiries, please feel free to contact us for a consultation and to discuss your specific needs.
References
- Manufacturer's Installation Manual
- Technical Specifications of the Automatic Test Pressure Air System
- Industry Standards and Best Practices for Installing Air Systems